Create Event
How to create a new event in Envitely
Whether you’re planning a small private gathering with friends or organising your dream wedding with hundreds of guests, Envitely makes it easy to plan, organise, streamline workflows, and achieve your event planning goals. In this article, you’ll learn how to create and manage a new event in Envitely.
Get started with a free Envitely subscription today
1. +Add button
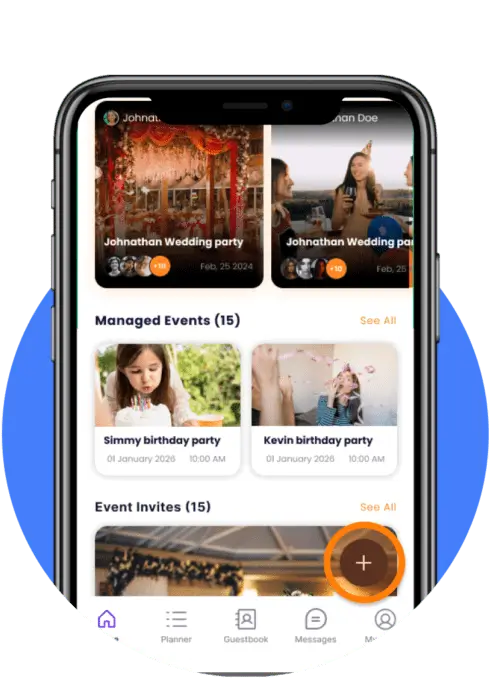
Click the black “+” button at the bottom of the home page or planner to open the create event menu.
2. Create your event
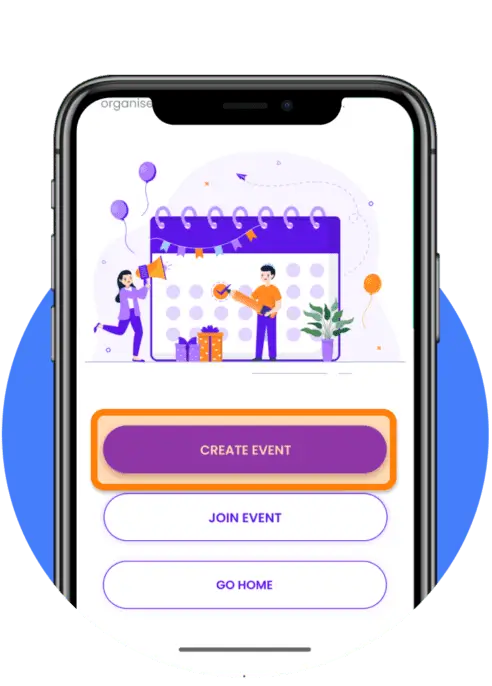
On this screen, you have three options: return to the Home Page, join an event you’ve been invited to, or create a new event. Click “Create Event” to proceed.
3. Event details
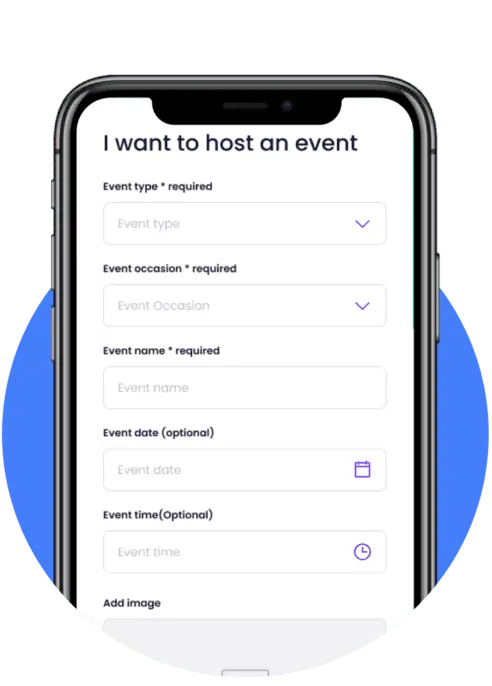
– Event Type: Select “Private” if your event is by invite only, or “Public” if you want to allow people to self-register. This means anyone with the event link can register.
– Event Occasion: Choose from the prepopulated list.
– Event Name: Enter a name for your event that your guests and attendees will see.
– Event Date: (Optional) If unsure, the date can be added or edited later.
– Event Time: (Optional) If unsure, the start time can be added or edited later.
– Add Image: Upload a cover image for your event. This image will be visible to users and associated with your event.
4. Planner
Before you start planning your event, consider setting your budget. Enter your event budget here, and we’ll help you stay on top of your spending. Not sure about your budget yet? No problem—you can always add or edit your budget in the planner module later.
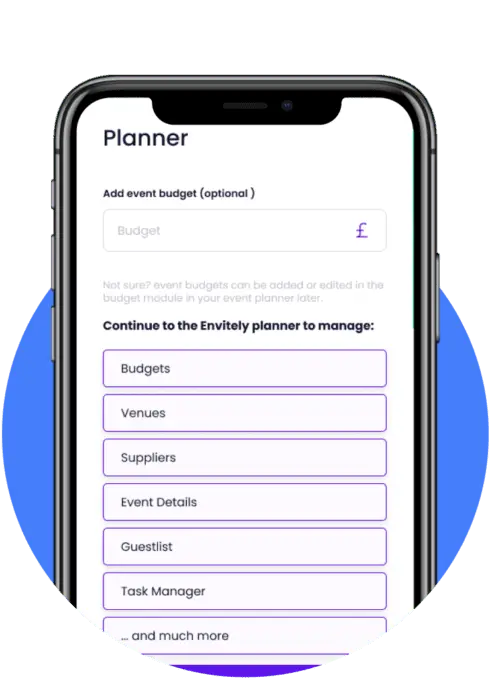
5. Event location
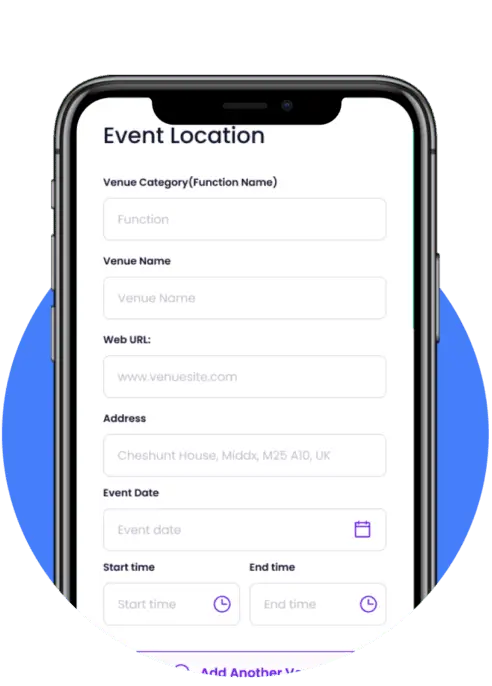
The information provided here will be visible to your event attendees and can be edited later in the planner module.
– Venue Category: Let your guests know the fucntion they are attending. This is particularly important for events taking place across different venues. For example, a wedding may have one location for the ceremony and another for the reception.
– Web URL: Add a link to the venue’s website.
– Address: Enter the location address to make it easy for your guests to find the event.
– Event Date: This may be prepopulated with information from the event details section above, but can be changed if needed.
– Start/End Time: Optional fields, recommended for multi-location events so guests know where to be at specific times.
– Add Another Venue: Use this button to enter information for additional venues.
6. Get started
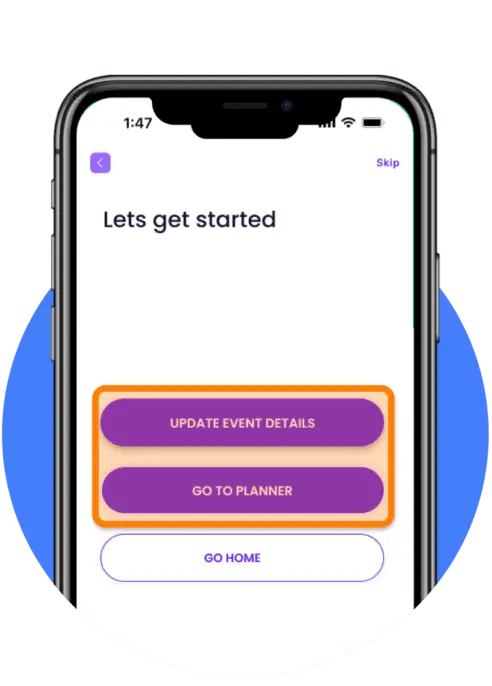
You are now ready to start planning your event. Go to the Event Planner module to access all your planning tools, and don’t forget to keep your event details up to date.
